Introduction
Changing your network’s SSID, or Service Set Identifier, is a straightforward way to personalize your network’s identity. Whether introducing a new router or refreshing your current Wi-Fi’s look, renaming your network in Windows 11 can be easily done. This guide covers each step necessary to change your SSID without complications. Additionally, we’ll discuss the significance of your SSID and go over security tips to enhance your network’s safety.
Understanding SSID and Its Importance
The SSID (Service Set Identifier) represents your Wi-Fi network’s name. It’s what devices see in the list of available networks. Selecting an SSID is more than just personalization; it impacts network security. A distinct SSID helps differentiate your network from others nearby, minimizes accidental connections, and aids in network management. Additionally, some default SSIDs might provide clues about your router’s brand, potentially assisting malicious users. Thus, renaming your SSID not only boosts security but also personalizes your home network.
Preparing to Change Your Network SSID in Windows 11
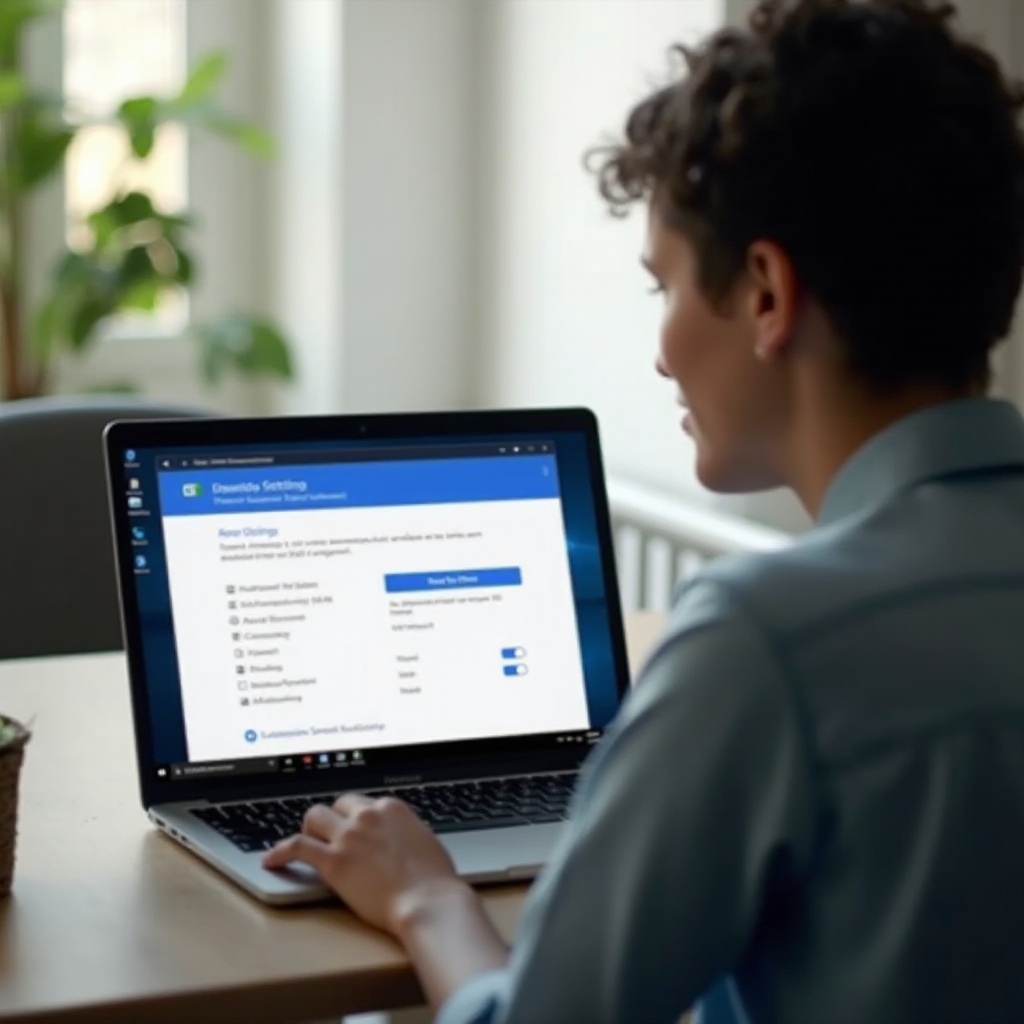
Before proceeding with the step-by-step instructions for renaming your SSID, ensure that you have the necessary information and tools ready. First, ensure you have administrative access to your router. If unsure, consult your router’s documentation or contact your internet service provider. Gather credentials like your current network name and password; these may be needed during the process. Also, ensure your Windows 11 device is connected to the network you intend to rename. This preparation reduces the risk of connection loss during the SSID update.
By preparing effectively, you lay the groundwork for a seamless transition. With everything in place, you can proceed confidently, knowing that the process will be streamlined and uninterrupted.
Step-by-Step Guide to Renaming SSID
Now that you’re prepared, follow these steps to change your SSID in Windows 11:
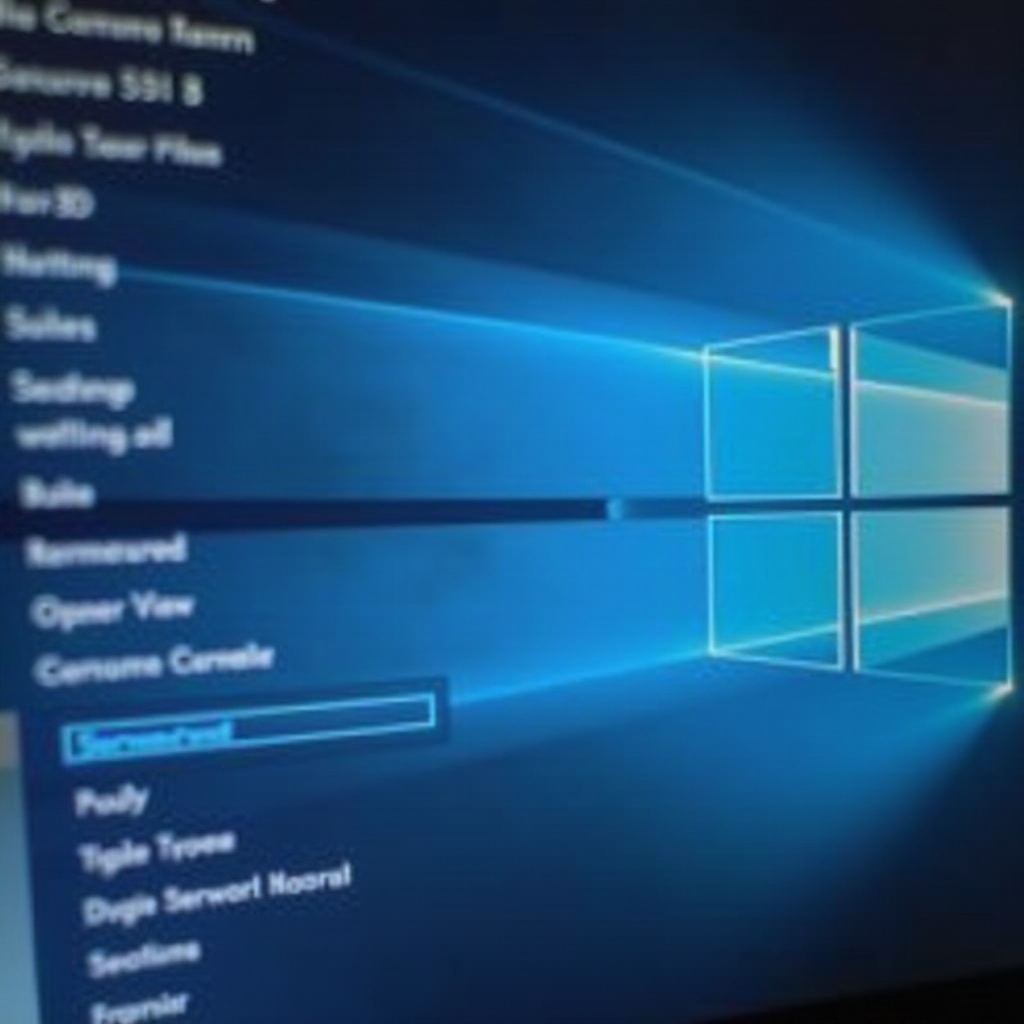
Accessing Windows 11 Network Settings
- Click on the Start menu and open Settings.
- Navigate to Network & Internet.
- Select Wi-Fi from the menu on the left side.
Locating Your Current Network
- Within the Wi-Fi settings, click on Manage known networks.
- Identify the network you intend to rename and select it.
Changing and Saving Your New SSID
- Once you have accessed the settings of your current network, look for an option labeled SSID Name or Network Name.
- Enter your desired new SSID. Consider using a name that is unique yet recognizable to you. Avoid using personal information to maintain privacy.
- Save the changes and exit the settings menu.
After making these changes, your devices might need to reconnect to the network using the updated SSID. Make sure to update any saved network settings on other devices to reflect the new SSID.
By carefully following these steps, you ensure a smooth transition for your network, avoiding disruptions and helping maintain continuity of connections across all devices.
Tips for Choosing a Secure and Effective SSID
When selecting a new SSID, balance creativity with security.
- Avoid using personal data like your name, address, or birthdates.
- Stay away from using default names given by router manufacturers, as they could reveal information about your router.
- Consider using a mix of letters and numbers for a unique identifier.
- Although it might be tempting, avoid using provocative or offensive language, which could break your ISP’s terms of service.
A thoughtfully chosen SSID does more than just provide an identity; it is a fundamental layer in your network’s overall security.
Troubleshooting Common Issues After Changing SSID
After updating your SSID, some issues may arise:
- Connection Drops: Verify that your device’s Wi-Fi is on and you’re attempting to connect to the new SSID.
- Forgotten Password: If you can’t remember your network password, you might need to reset your router to its factory settings as a last resort.
- Inaccessible Network Name: Ensure the changes have been saved and restart the router if necessary.
If you continue to face difficulties, double-check each step or consider looking through your router’s support documentation.
These troubleshooting steps are designed to swiftly get your devices back online, minimizing downtime and maintaining your network’s reliability.
Additional Security Measures for Your Network
Enhancing network security extends beyond renaming the SSID. Here are additional measures to consider:
- Enable WPA3 Encryption: This provides a high level of security for wireless networks.
- Use a Strong Password: Combine letters, numbers, and symbols to create a robust password.
- Regularly Update Router Firmware: Stay current with updates that can address vulnerabilities.
Incorporating these strategies will help protect your network from unauthorized access, ensuring a safer digital environment.

Conclusion
Changing your network’s SSID in Windows 11 is a straightforward task that provides both personalization and security benefits. With proper preparation and steps, you can successfully rename your network and enjoy a secure online experience. Selecting an SSID that is unique yet non-revealing about personal identifiers helps protect your privacy. A secure network is fundamental to safeguarding your digital life.
Frequently Asked Questions
How often should I change my SSID?
Changing your SSID occasionally can be a good practice, especially if you suspect unauthorized access. However, there’s no set timeframe—always prioritize your network’s security first.
Will renaming my SSID improve my network security?
While renaming your SSID itself doesn’t improve security, it helps in managing connections and can prevent outsiders from identifying your network brand from default names.
Can I hide my SSID after changing its name?
Yes, most routers allow you to hide your SSID as an added layer of security. This means it won’t show up in the list of available networks. However, you’ll need to manually enter the SSID when connecting new devices.